
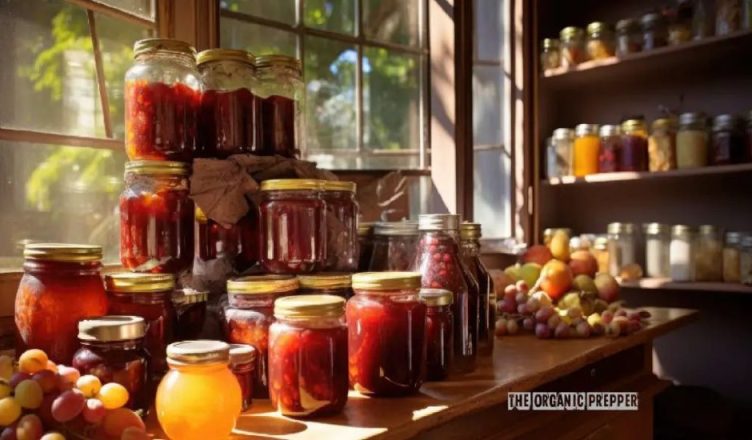


Perhaps the very easiest thing to can is homemade jam. It’s not very expensive, it’s simple, and once you’ve learned how to make jam from one fruit, others just cooperatively fall into place for you. It’s a great way to get started canning. These instructions include the use of commercial pectin but if you’d prefer to take it up a notch, here’s how to make jam without any pectin at all.
The instructions for basic jams are all pretty much the same – you only need to make minor modifications for different fruits. So, because we’re all creative people, I’m laying out the basic how-to, giving you a chart with special instructions fruit by fruit, and you can take it from there.
Ingredients
- 8 cups of fresh or frozen fruit
- 1 packet of pectin + ¼ of a package (I like to use the no-sugar-needed, but then still add sugar – just less!)
- 4 cups of sugar
- 2 tbsp- 1/4 cup of lemon juice
Directions
1. Prep your fruit by washing it and cutting it up if necessary.
2. Smush your fruit. You can do this with a potato masher, food processer, blender or food mill. For some fruits I like to puree them and have a smoother jam and for others I like chunkier jam – it’s up to personal preference.
3. In a small bowl, use a fork to mix ¼ cup of the sugar with one packet of pectin.
4. In a saucepan, stir the fruit, lemon juice and pectin together well.
5. Bring the mixture to a boil over medium heat, stirring frequently.
6. Once it is boiling, stir in the sugar and return to a boil for one minute.
7. This is important:
Jam Making Rule of Law:
Always test your jam!!!!
How?
You do this by keeping a spoon in the freezer – to test, drip a bit of the hot jam into the spoon to allow it to quick cool – the consistency it reaches is the consistency your finished product will be. At this point, I nearly always end up adding another 1/4 – 1/2 package of pectin – I use the cheaper pectin to “top it up” – return to a simmer for a couple of minutes and test again. Omitting this step may result in a very tasty ice cream topping or waffle syrup, but not jam!
8. Ladle the jam carefully into your awaiting (sanitized) jars, wipe the rims and cap your jars with snap lids and rings.
9. Process in a water bath canner, according to the ingredients chart and making adjustments for your altitude.
Jam Making Chart
| FRUIT | SPECIAL INSTRUCTIONS | PROCESSING TIME |
| Apricot | Peel, slice in half to pit | 5 minutes |
| Blackberry | optional step: mill to remove seeds | 10 minutes |
| Blueberry | optional step: puree | 7 minutes |
| Cherry | Pit with a cherry pitter, chop before cooking | 10 minutes |
| Grape | Mill to remove seeds | 10 minutes |
| Huckleberry | Check for stems | 10 minutes |
| Peach | Peel, slice in half to remove pits | 10 minutes |
| Plum | Slice in half to remove pits | 5 minutes |
| Raspberry | Crush with a potato masher | 10 minutes |
| Strawberry | Remove cores, mash with a potato masher | 10 minutes |
If you are using more than one fruit in your jam, follow the instructions for the fruit that takes the longest to process. For example, if you are making a blackberry and plum jam, process for 10 minutes instead of 5 minutes.
What about you?
What is your favorite kind of jam? How often do you make it?

source : Daisy Luther