Overview
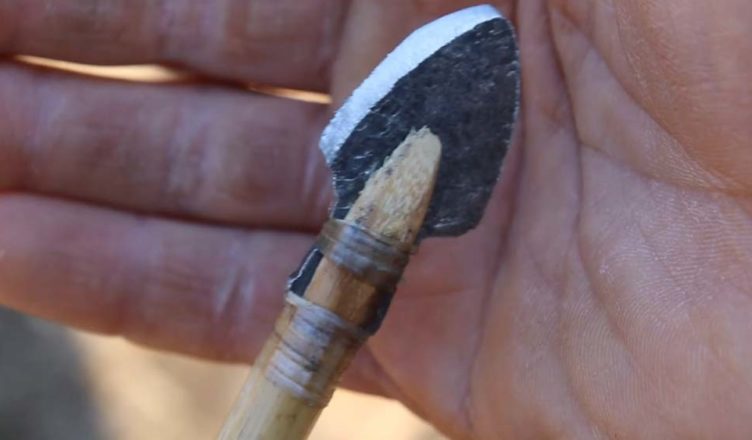
You will learn how to make what I consider to be the best and simplest arrowhead for hunting, and we will discuss items you might already have laying around, collecting dust, that could be turned into an awesome improvised arrowhead with simple hand tools.
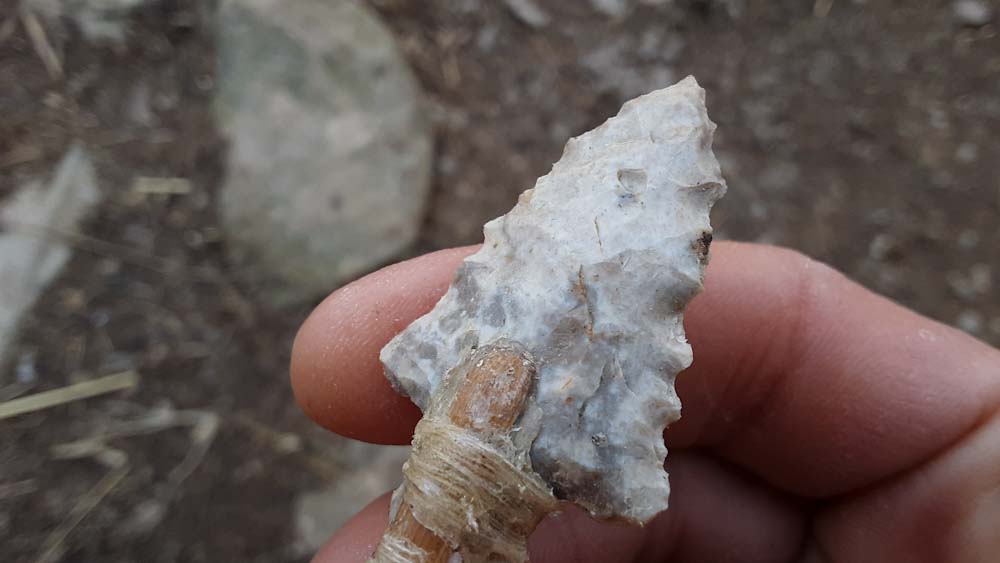
For thousands of years, rock has been used to make hunting points, via the skill of knapping. But what if you live where there is no flint, chert, dacite, or obsidian? Are you to starve because you do not live near this natural material? The simple answer is HECK NO. Now, I do suggest you learn to knap with pieces of glass because it is a skill that can come in handy, but in reality, we live in a modern world with an abundance of excellent materials from whihc arrowheads can be improvised.

Just like our ancestors went out in their time and their habitat and found abundance under their nose, we can do the same. You might be surprised what is right under your nose, waiting to be turned into a serviceable projectile point to feed and protect you for the long haul, if and when you need it.
How to Make Improvised Arrowheads with Simple Tools for a Survival Bow & Arrow In Modern Times
In all my years of making hunting bows and arrows from found items, I have also tinkered with the materials best suited for arrowheads. These skills go hand-in-hand. As a minimalist and homesteader practicing self-reliance, I needed to have something that was able to serve my needs for a long time, be simple to make, and easy to source.
Even though I live in a rural habitat, I do not have an abundance of natural materials like flint or chert to make arrowheads from. This is why this mindset is critical for you to have. Put some thought into what you have laying around RIGHT NOW that could be turned into improvised arrowheads. If you’re forced to make do with what you’ve got right now, what would you use?
I will tell you a quick story about myself where I considered this same question. 6 years ago, I decided I would only use a survival bow and arrow I made from my surroundings to hunt with. I needed to make some broadheads, as well. With that totally primitive mindset, I wanted to make them from stone, of course, but this was not as easy as you think. You see, I didn’t really have stone around me. All I could find were small pieces of flint–nothing that a legal size point could be made from.
So, my options were to either drive a pretty good distance to see if I could FIND some, or buy it by the bucket full online. Since I wanted the entire set (bow+arrow) to be made from my surroundings, essentially at no cost, neither of these sounded like good options to me.

I did, however, have wine bottles! We have made blackberry wine in the past from our wild growing blackberries and had several of these left for me to practice my knapping skills. It went well, and after hours and hours upon hours of making and breaking, I learned the skill and made some decent points. Then a friend from about 50 miles away brought me a nice chunk of chert and, after hours of working it carefully, I made my first arrowhead from a rock!
Was I going to hunt with this and rely on it solely for the rest of my life? HECK NO! Not that I doubted its ability to kill for food–obviously stone arrowheads work, as none of us would not be here without them. But it was clear to me that stone arrowheads wouldn’t work for my project, because I didn’t have materials close by. Soon after I ran out of glass and it dawned on me, (this is me talking to myself) “Dave, what are you doing we live in modern times?…act like a modern Indian would…what is around you that can be re-purposed or become an improvised arrowhead? Metal! I have lots and lots of metal around me! A lot of it is junk, too!”
Watch this short video of me shooting a Self Made Survival Bow & Arrow.
This is called making trade points, and it’s basically how our ancestors went from stone to steel! So here I was rounding up everything I had on hand that was collecting dust and, all of a sudden, I had piles of broadheads! And better yet, short of losing them, they could probably last forever!
If for some insane reason I run out in like 50 years, I can walk down the street to my neighbor’s junkyard and in one haul have another half century’s worth! With a pair of snips, hacksaw blade, a hammer, and a file–I’m in business in minutes! I will teach you with a quick tutorial how to make a super simple, easy to maintain improvised arrowhead with only hand tools. Let’s dig in!

Step 1 Material/Tools Needed to Make Improvised Arrowhead
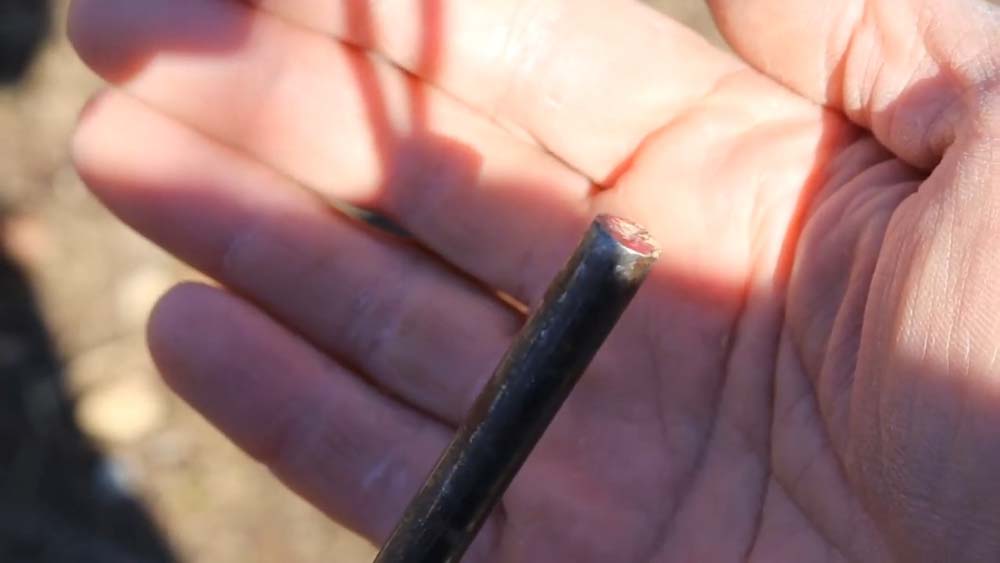
You can use a saw blade or sheet metal to make crazy sharp arrowheads in minutes, with just a pair of snips and a file, but I found that they tend to break if used on bone and are not as easily reshaped when bent. My choice for the best broadhead is from a large spike, nail, or 5/16-inch round rod found at the hardware store.
A section I bought for less than $5 years ago, for a project that never happened, ended up producing 25 awesome arrowheads for me. The larger the nail or spike, the heavier the point, and that helps with penetration. For this post, I will discuss the 5/16 round rod. You will need a hammer, file, and either a pair of pliers or cold chisel.
Step 2 Shaping and Sharpening the Improvised Arrowhead
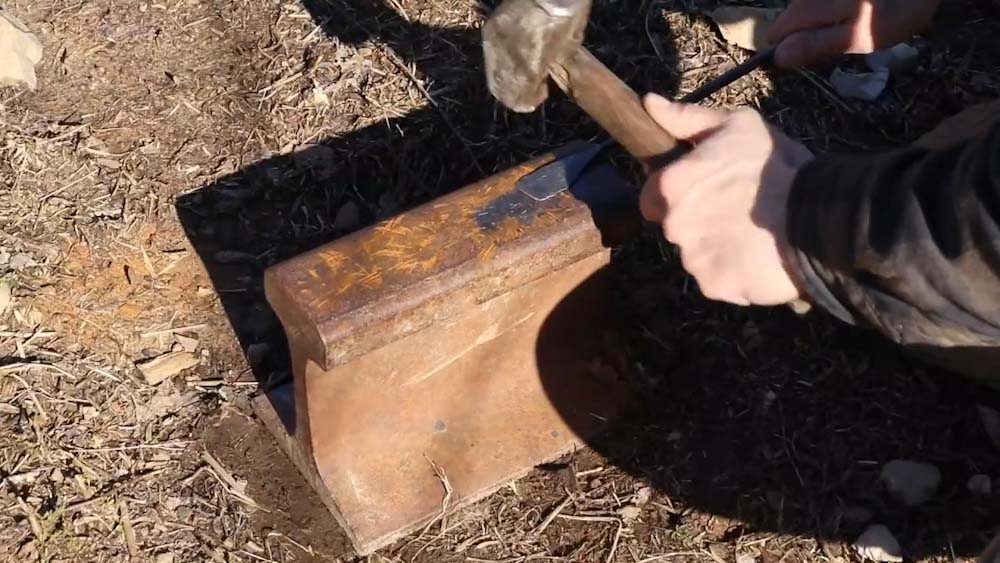
Use the hammer to flatten a 1.5-inch-long section roughly 1 inch wide. This section should be at least 1/16-inch-thick or more when done, so keep an eye on the thickness as you flatten the material. Keep watch on the trueness as well by flipping the piece over from time to time.
Next, draw this proven arrowhead shape onto the flattened piece.
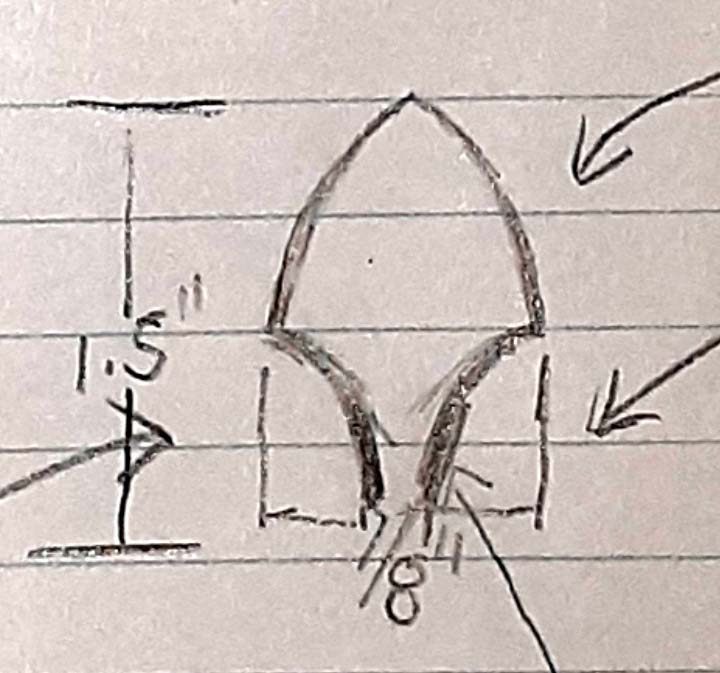
Now, use the file to shape and sharpen, as shown in the photos below:
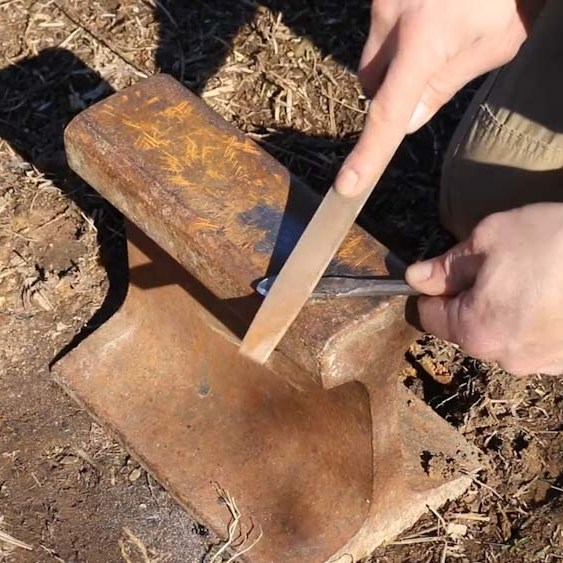
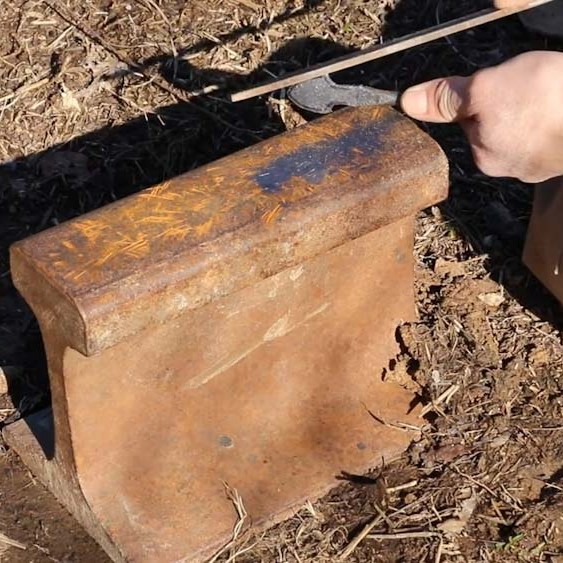
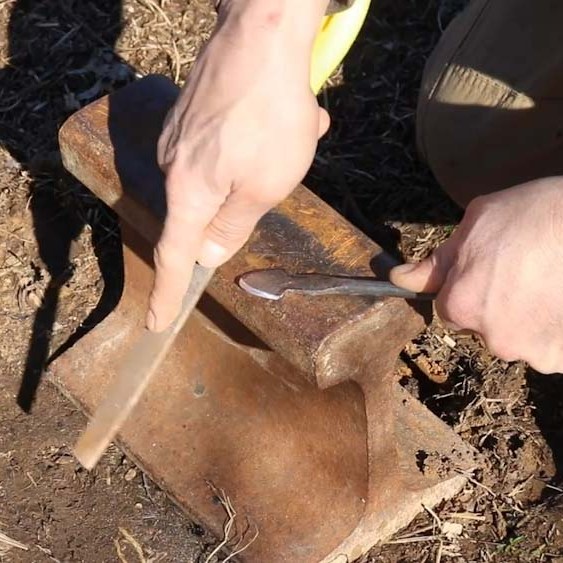
Before snapping the broadhead off the rod or spike, leave it on there for ease of handling while using the file to put a sharp edge on it. Hold the file at approximately a 25 degree angle, moving it with even pressure in one direction to carefully sharpen one side. Then flip it over and do the same thing to the opposite edge of the arrowhead. This is called a single bevel. Single bevel is the quickest edge to maintain and most effective at harvesting large game with less than ideal steel. Once you have the edge producing a bur on the backside, you are there!
You can use a strop, such as piece of cardboard or leather, to remove the bur but honestly, if you did the job correctly up til this point, it’s sharp enough to get the job done. I have successfully hunted with a bur left on 9 out of 10 times.
Step 3 Adding the Improvised Arrowhead to an Arrow Shaft or Crossbow Bolt
Now, all you need to do is break it off somehow. You can use a set of pliers to wiggle it back and forth until it breaks free or use a cold chisel to pop it off in a couple whacks!
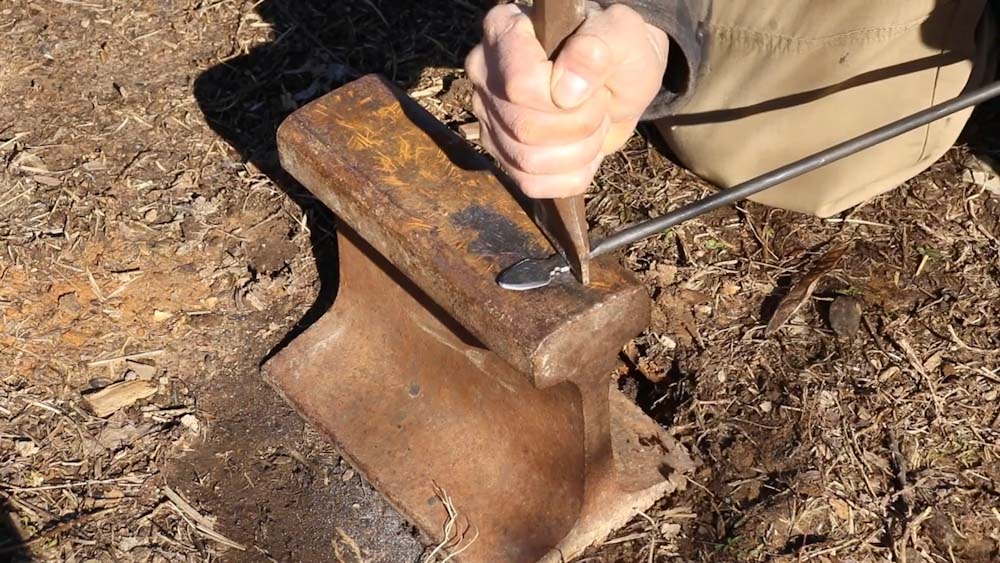
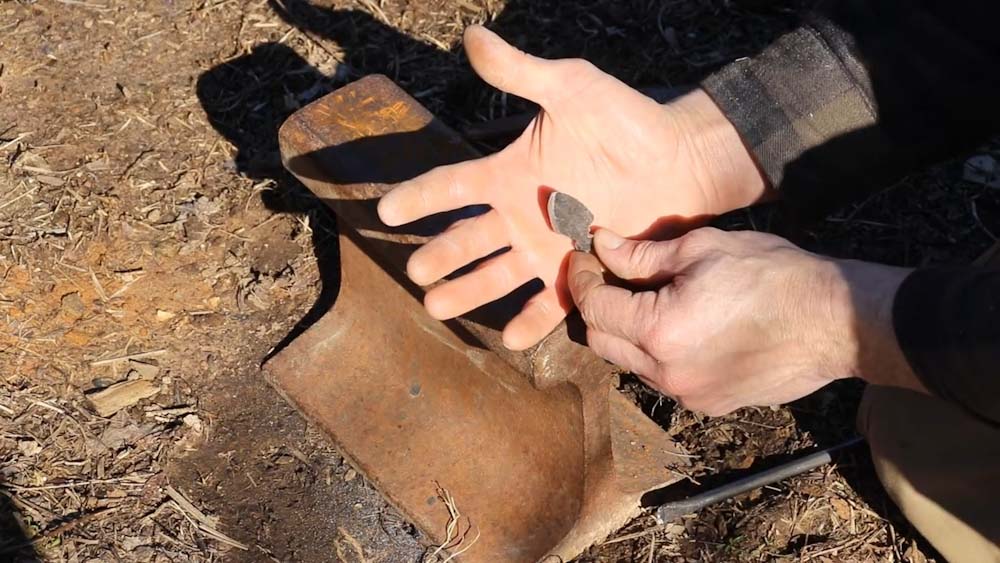
Now, if you’re using natural shafts for the arrows, the detailed process goes like this:
Cut or file a notch in the end of the shaft that is exact width of the improvised arrowhead. Then, using glue like hot melt, pitch, or something strong, apply it and force the arrowhead down into notch. Then, finish it off with either chewed animal sinew binding or string/thread soaked in glue.
And that’s it, you’re all set in just a few minutes of work. Easy to do and replicate. Not a lot of skill or time required. Make some more while you’re at it, practice makes perfect!
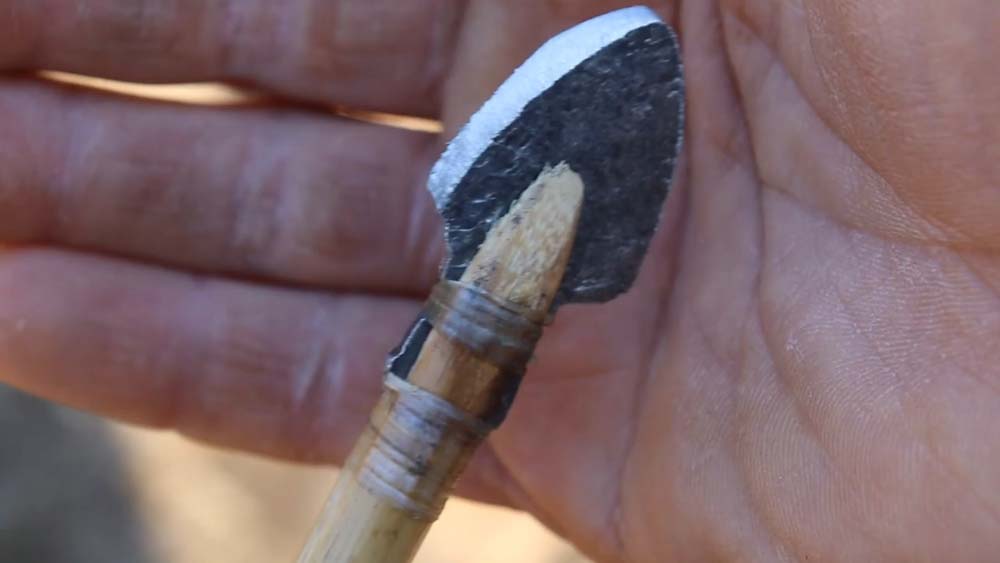
Now, with your newfound skill set, go out and create more improvised arrowheads from found items such as folded up cans, kitchen utensils, keys and even pocket change!
Next steps
Shoot me an email at [email protected] if you need the downloadable template for the Best Broadhead!

The next task to tackle is making a bow and a bowstring from your surroundings to complete the package and skill set needed to survive with what’s around you. Lucky for you I have a course that teaches just that! You should join me there! Here’s the link: https://www.outdoorcore.com/courses/survival-bow. Until then be creative, stay positive, and always be ready.
source : Dave Meade

