Do you have a source of delicious, creamy raw milk? Or, as our grandparents used to call it, milk?
If you do, you probably cringe when you have to go to the store and purchase dairy products from pasteurized milk. Well, cringe no more, because it is unbelievably easy to make your own homemade dairy products, like cottage cheese and sour cream.
And by “unbelievably easy” I mean that you pour milk into a bowl, cover it with a towel, and leave it on the counter for 2 or 3 days.
I couldn’t make this stuff up – it’s that easy. Well, there are a couple of finishing steps to perfect your product, but that’s how you make these things.
If you tried this with store-bought milk, you’d have a disgusting, smelly mess on your hands that you couldn’t choke down without gagging. This highlights the real difference between raw milk and pasteurized. Raw milk is alive, teeming with healthy gut bacteria, while pasteurized milk is dead, and will rot and degrade if not refrigerated. And yet, somehow, farm fresh milk is contraband equivalent to heroin or cocaine in some states.
The sour cream you get from this process is what really got me thinking about raw milk products. Have you ever wondered why there are so many chemicals in the sour cream you get from the store? That’s because it’s not real. Real sour cream is just that, cream that has soured. Because store-bought products must be pasteurized, it is impossible to make real sour cream. You’d just have rotten cream.
Let that sink in for a minute. Very few people in America have actually had sour cream! They only think they have, but it’s an artificial concoction.
Once you indulge in the richness of the homemade raw milk product, you’ll never want to eat the stuff in the plastic tub again. And when you see how easy it is, you’re going to say, “You’ve got to be kidding!” Nope. It’s this easy.
Read more : How to Make Cottage Cheese
If you’re into preparedness, it’s important to note that this is a great, off-grid way to extend the longevity of any raw milk you happen to have in your fridge in the event of a power outage.
IMPORTANT: If you are making cottage cheese from store bought, pasteurized milk, follow the instructions here. If you try to follow this process it won’t work. At all.
Supplies for making raw milk products
Okay, let’s get started. Here’s what you need.
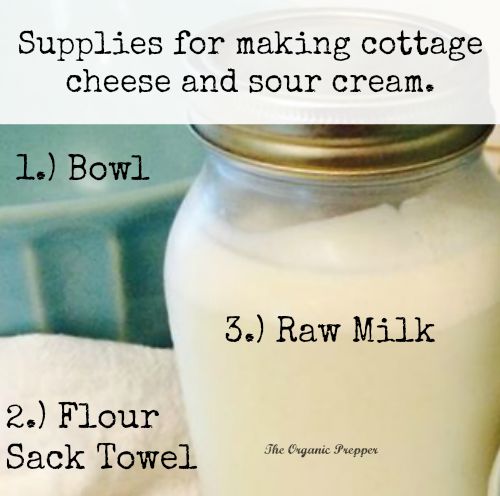
1.) A bowl
2.) A Flour Sack Towel (You’ll use this again later.)
3.) Raw milk
Make sure your bowl is very clean. You don’t want to grow anything funky in there.
You can use raw milk that has begun to taste a bit off for this. I always use whatever I have left when it’s herd share day. There’s no set amount required. If you use a quart of raw milk, you will get about half a cup to a cup of cottage cheese. The amount of sour cream depends upon the amount of cream in your milk. If you’ve been pouring right off the top and not shaking up your raw milk, you won’t get a lot of sour cream. However, if you put some cream aside right away, you’ll get lots of rich goodness from this process.
I like to use flour sack towels for most things in the kitchen because they’re lint-free and versatile. They can be used for anything from hanging cheese to pectin-free jam making to, of course, drying stuff. These are the ones I buy. I always wash them a couple of times before I use them for food making.
Allow the milk to sour on the counter.
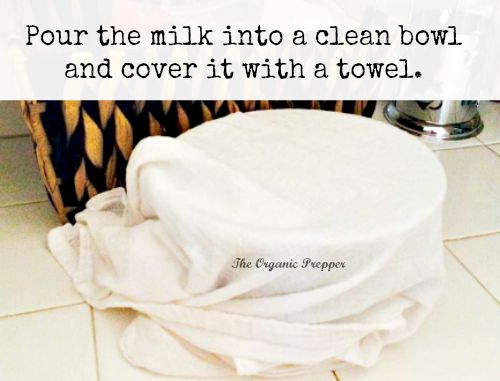 I feel like I should be making this seem more complicated than, pour the milk into the bowl and cover it up. But that’s literally ALL YOU DO in this step. I keep my bowl in the laundry room because it’s a few degrees warmer than the kitchen.
Read more : Easy DIY Homemade Water Distiller
Skim the sour cream that rises to the top.
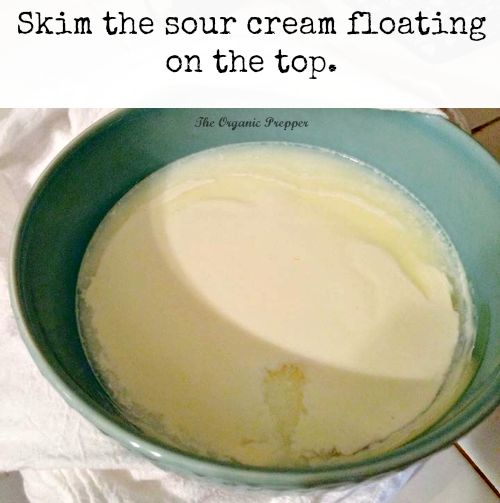
Leave it overnight. On the morning of the second day, taste the creamy goodness on the top, If it is not quite tart enough, leave it to sour for a few more hours. If it’s just how you like it, skim that sour cream off the top and put it in the fridge. Depending on the texture you prefer, you may wish to drain the sour cream using a flour sack towel to thicken it up. (Then make some potatoes so you can eat it all.)
Let the milk separate.
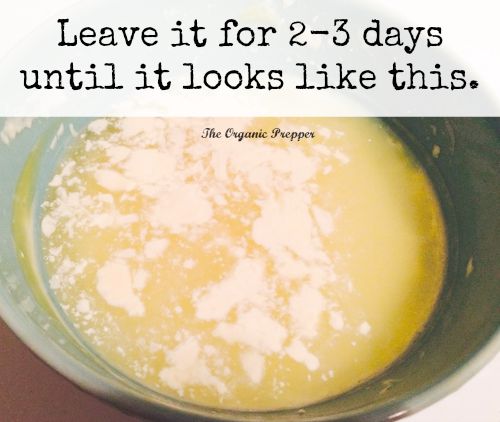
You want to leave it for 2-3 days until it separates completely into something that resembles the contents of the bowl in the photo above. Yuck, right? That, my friends, is a bowl of curds and whey. (I can’t even tell you how much I want to make a Little Miss Muffet joke right now.) I really like to put pretty pictures on my website, but you need to see this so you know that it’s actually supposed to look like that. When it does, you’re ready to move on to the next step.
Drain the whey from the curds.
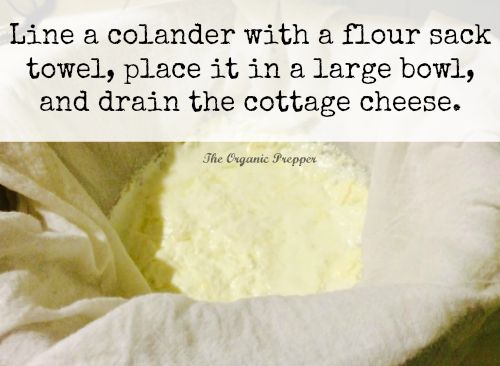
Use your flour sack towel to line a colander. Place the colander over a bowl to catch the whey (see below for “wheys” to use it – haha.)
Leave it on the counter to drain for a couple of hours, or until it is the consistency you desire. Pour the whey you’ve collected into jar and put it in the fridge.
Read more: A Fermenting Staple: Old Fashioned Sauerkraut
Rinse the curds.
Gather it up in the flour sack towel and put it under the running tap to rinse the whey off of the curds. If you don’t do this, it could have bitter flavor that some people find unpleasant. Squeeze the water out. Return it to the colander and let it drain for another hour.
And you have homemade cottage cheese!

Isn’t that gorgeous? It won’t have the hard uniform curds of grocery store cottage cheese. It will be light and fluffy in texture.
What you can do with whey:
- Substitute for water or milk in baking
- Use in place of part or all of the water when cooking rice or pasta
- Use it for smoothies
- Use it in oatmeal or other porridge
- Feed it to livestock for some yummy probiotics – dogs and chickens love it
- Make ricotta cheese
- Use it for lacto-fermentation
by Daisy Luther

