Using the sun to start a fire is probably my favorite method of fire starting. It amazes me every time. The sun is an incredible survival fire starting resource but getting the job done can be frustrating. I’ve decided to compile 8 TIPS that you MUST KNOW when using the sun to start a fire. Any one of these can make the difference between getting the job done or suffering the consequences of failure. For a limited time, I’m also giving away FREE one of my favorite solar fire starting tools – no strings attached, no shipping fees, FREE. But, I have a limited number so I have to put a time limit on it – only 24 hours. Details at the end of this post!
SOLAR FIRE STARTING TIP #1: FULL SUN
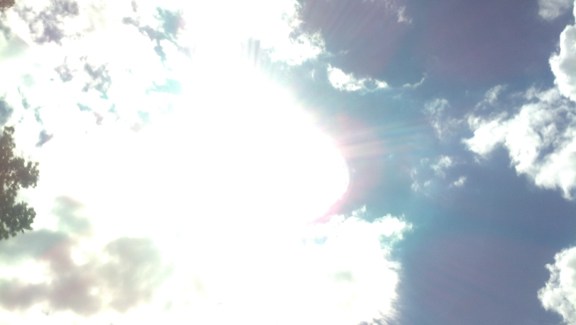
I know this sounds obvious, but you must have FULL SUN when attempting solar fire starts. It can’t be behind a mountain, building, clouds or even a thin layer of fog. A powerful (or huge) solar lens may work with partial sun but rarely (if ever) will you have this kind of lens in an improvised survival scenario. In my experience, the sun has to be completely visible with no obstructions. It does not, however, matter where it is in the sky. It works best when it’s at 12 noon in the middle of the summer and the sun it right overhead at it hottest point but isn’t necessary. I’ve started solar fires when the sun low in the horizon in December with snow on the ground. The sun DOES need to be completely and entirely visible.
SOLAR FIRE STARTING TIP #2: BONE DRY
Another obvious tip, right? If I hadn’t seen so many people try to use wet or damp tinder in my courses then I wouldn’t list this tip. The tinder you select MUST BE BONE DRY – especially when working in less than perfect conditions with less than perfect tools.
SOLAR FIRE STARTING TIP #3: ANGLE OF ATTACK
You must hold your lens (either magnifying or parabolic doesn’t matter) at a perpendicular angle to the sun’s rays. The 2 lines in the letter ‘T” are perpendicular to each other. Any angle less or greater than 90 degrees will reduce the amount of heat that you can generate. The diagram below illustrates this a little better.

When you use a less than perfect magnifying or parabolic lens, the angle of attack is critical. It’s so important to hold your lens so that it is directly perpendicular to the sun’s rays at the exact point where you are located. The sweet spot is 90 degrees and any angle less or greater than 90 degrees will reduce the efficiency of your lens and thus your ability to smolder tinder.
SOLAR FIRE STARTING TIP #4: THE COLOR BLACK IS YOUR FRIEND
Light and heat are different types of energy but very much related when it comes to starting a fire using a solar enhancing lens. With a solar lens we are trying to convert light energy into heat energy. Understanding the physics behind why and how this works can absolutely save your life one day. The color of the fire tinder you are using in conjunction with your solar lens can affect how fast or IF you’re successful getting an ember. White or light colored tinder will REFLECT all or most wavelengths of light so the light is NOT converted to heat and the temperature of your tinder may not get hot enough to burn and smolder. However, black or dark colored tinder will ABSORB all or most wavelengths of light, converting them to heat and increasing the temperature of your tinder.
Creek, does this mean I can’t use white or light colored tinder to start a solar fire?
No, it doesn’t. In fact, we use light colored crushed up punky wood to start solar fires all the time in my courses here at Willow Haven Outdoor. However, in a survival scenario, every detail matters and you may be working in less than perfect conditions with a less than perfect lens on a less than perfect timeline. Anything you can do to gain a competitive edge and increase your fire starting chances is a good thing. Choosing and using dark colored tinder is just one strategy that can help.
A few darkening hacks! Below are some things I’ve done in the field to darken light colored tinders so that they absorb more light and thus get hotter faster.
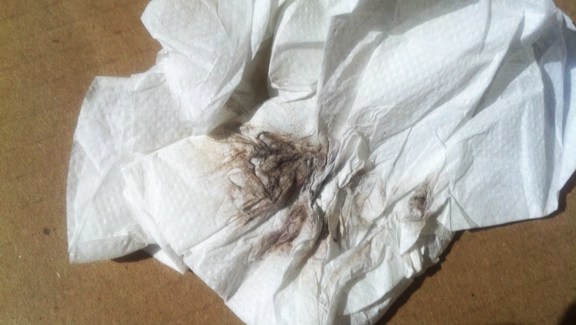
- Rub on dry dark dirt. I’ve rubbed on dark dirt to make light colored punky wood darker before. Don’t use MUD because your tinder must be dry. In the photo below I’ve rubbed dirt on a napkin to create a dark spot for smoldering.
- Rub on charcoal from an old fire. Maybe your old fire has gone out or you’re able to find a charred log. The charcoal from something already burnt can be used to darken existing dry tinder. It can also be used as tinder! Charcoal is a great solar fire starting material for getting an ember.
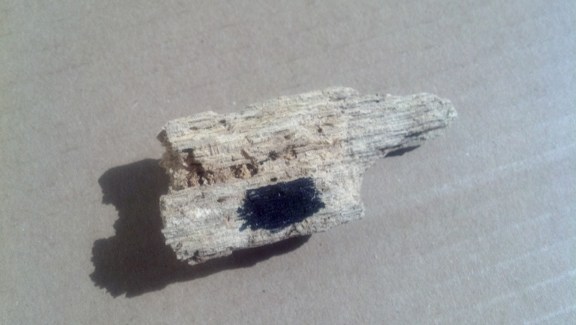
- Use a pencil, ink pen or marker. I’ve actually colored tinder in the field with a Sharpie marker before and it worked awesome! The graphite led from a pencil works as well. So does black colored ink. GET CREATIVE! In the photo below I’ve colored punky wood with a Sharpie marker for a quick and easy solar ember.
SOLAR FIRE STARTING TIP #5: FOCUS! FOCUS! FOCUS!
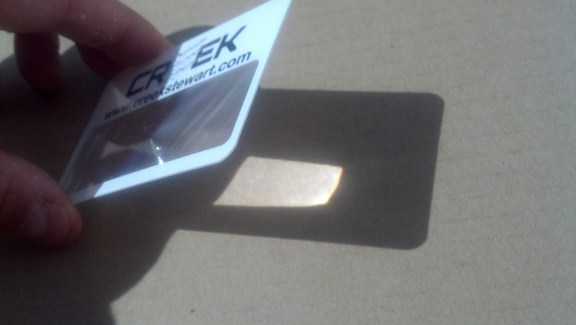
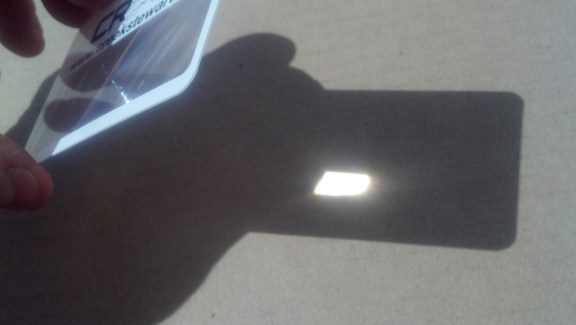
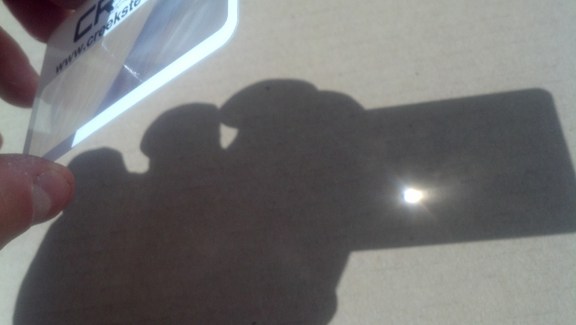
When using a solar lens, it’s all about the focal point! This one is a deal-breaker. The best way to get the focal point is to start with your lens very close to the tinder (at a 90 degree angle to the sun rays like described above) and slowly draw it back. You will see the beam of light through your lens (or parabolic mirror) start to get smaller. Keep pulling the lens away until the beam gets to it’s tightest possible point. This is the point just before the beam of light starts getting BIGGER again. This is the FOCAL POINT and it is at this point where you will start to create a fire. Below is a 3 part photo series using a wallet sized Fresnel lens.
SOLAR FIRE STARTING TIP #6: GO FOR EMBER, NOT FLAME
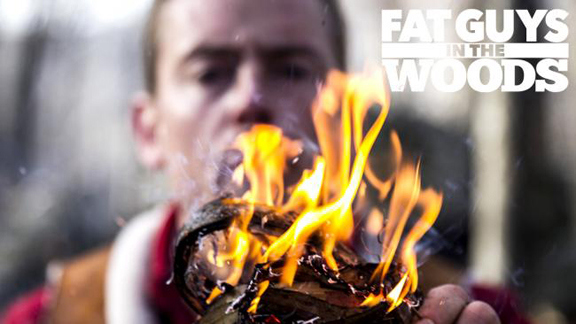
(Like my subtle photo plug for my new show on THE WEATHER CHANNEL called FAT GUYS IN THE WOODS premiering on Sunday August 10th? Read more about it here: http://www.weather.com/tv/tvshows/fat-guys-in-the-woods/fat-guys-woods-weather-channel-20140708)
I’ve found it much more difficult (often impossible) to go directly to flame using many different types of solar fire starting tools. Unless you have an extremely powerful lens, you’re just wasting your time trying to go directly to flame. The best strategy it to create a burning ember using your lens – THEN – place that smoldering ember into a prepared tinder bundle and blow into flame. However, this is easier said than done. In order to do this you must know what tinders you can use that will produce a smoldering ember using a solar lens – THIS IS THE REAL TRICK WITH SOLAR FIRE STARTING!
SOLAR FIRE STARTING TIP #7: KNOW YOUR SMOLDERING TINDER OPTIONS
If you only take away ONE TIP from this entire article, remember this one. Smoldering tinder options are few and far between and must be chosen carefully. Not all tinder will create a self-sustaining smoldering ember that can be dumped into a tinder bundle. In fact, there are very few that will. Below are my favorites. REMEMBER THESE!
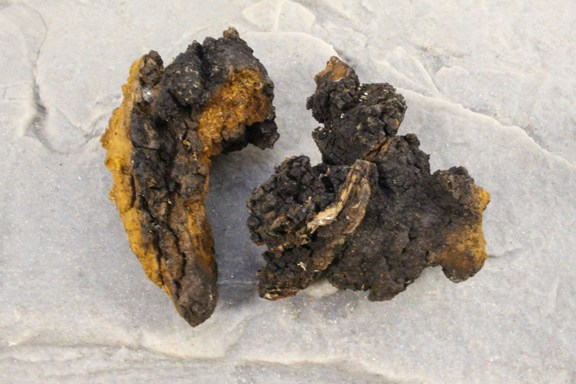
- TINDER FUNGUS (CHAGA): This is a fungus that grows exclusively on the BIRCH TREE. It actually looks like black charcoal on the outside. The inside is orange and very porous. This stuff is the SHIZNIT when dealing with solar survival fire starts. It smolders like no body’s business and has a very low ignition point.
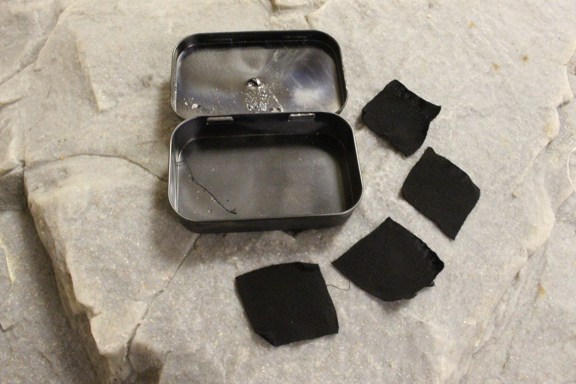
- CHAR CLOTH: Yes, you have to make this stuff in advance but CHAR CLOTH was a Mountain Man favorite for starting fires using a ‘burning glass’. That’s the word they used to use for a solar lens. Char Cloth will smolder within seconds using even a crappy lens. It’s dark color is perfect for solar. Don’t know how to make char cloth? Read my post here: http://willowhavenoutdoor.com/featured-wilderness-survival-blog-entries/how-your-underwear-and-a-pop-can-could-save-your-life/
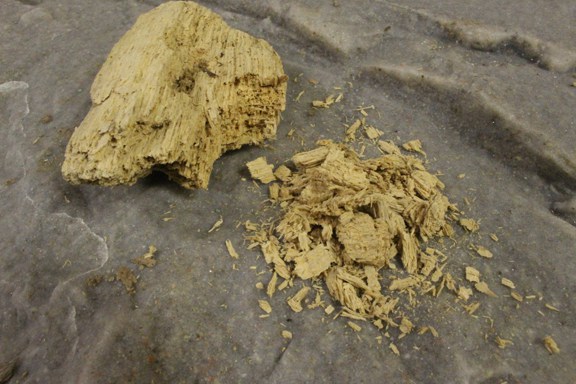
- PUNKY WOOD: Punky wood is one of my personal favorites because you can find it in almost any environment on the planet. It’s basically dry rotting wood. You’ve probably stepped on this stuff a hundred times in your yard or on a hike. Fallen trees dead branches all go through a stage of decay know as punky wood. It’s easy to crush, powder and pulverize (see next TIP). This stuff smolders very well and will produce a self sustaining ember. You can grow a punky wood ember to be the size of a basket ball if you wanted by just adding more crushed punky wood.
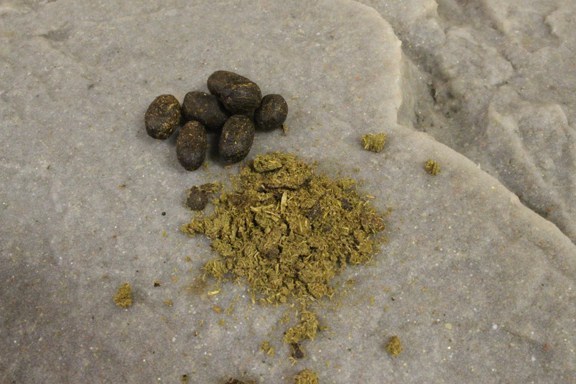
- POOP: Yes, that’s right – POOP! Not yours, though. My favorites are rabbit, deer, goat and moose. These particular animals produce some amazing solar fire starting poop. They are like little processed balls of solar gold. They are dark in color, made of tiny particles of dry grass and leaves and smolder incredibly well. They must be DRY! Fresh poo just will not work.
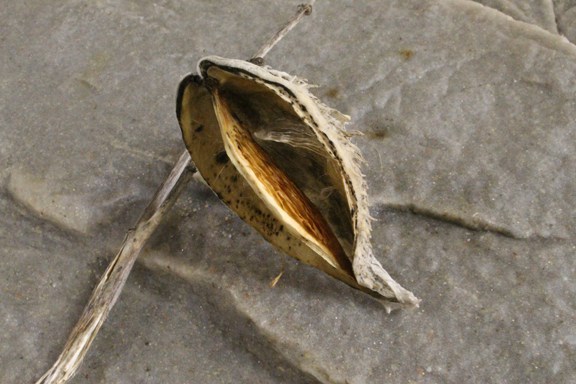
- MILKWEED OVUM: Now this is a jewel of knowledge that FEW people know. Consider yourself one of the solar elite! Milkweed ovum is the thin papery sheath that the fully milkweed seeds are attached to INSIDE of the milkweed pod. This stuff is like nature’s tissue paper. It has a very low ignition point and SMOLDERS! Very few things in nature smolder and this is one of them!
- TEA & COFFEE: Yes, you can generate a smoldering solar ember on tea and coffee. Finely ground coffee can make a suitable solar ember and so can the pulverized tea leaves inside of tea bags. You never know when this urban survival tip can come in handy.

SOLAR FIRE STARTING TIP #8: POUND, POWDER & PULVERIZE
Many tinders work much better for creating a solar smoldering ember when they are pounded, powdered and pulverized. These include but are not limited to punky wood and poops (ha!). I’m not sure of the physics behind why but I’ve had better success of getting a self sustaining smoldering ember on some tinders when they are powdered into a little pile. This is just a tip to keep in mind if all else fails.
Remember, it’s not IF but WHEN,
by Creek


