
Food and survival are symbiotic things, I mean, you can’t think about surviving without food, water and shelter, right? And, when confronted with a survival situation when SHTF, what’s the best thing you can do?
If you ask me, the answer is pretty straight forward: you don’t have to re-invent the wheel, just look back into our history. How did people used to make ends meet, thousands of years before internet, electricity and internal combustion engines? It seems pretty improbable nowadays, right, even amazing?
 Well, that’s just because we got used to our modern, care-free, high-tech life, when everything is just a click or a phone call away. But keep in mind one thing folks: back in the day, survival was not a punch-line, it was a way of life. So, just by studying how our ancestors used to live (and eat, but back to that in a moment) would be awesome, prepping-wise.
In today’s article, I will try to increase your knowledge base with a few ancient European food recipes for your survival kitchen.
Remember what that ancient guy used to say? You don’t live to eat, but you eat to live? I don’t fully agree with Hippocrates on that issue, because I love to eat, and also I allow my food to be my medicine and my medicine be my food (that’s another paraphrase of Hippocrates).
The best thing about old-school food recipes is that they’re fairly easy to DIY, they require a minimum amount of skills and raw materials, they’re as healthy as they come (everything’s natural and raw, without chemicals, additives and stuff like that) and they’re dirt cheap to manufacture. Oh, and I almost forgot: they’re very tasty!
Also, being capable of cooking nutritious foods from scratch would come pretty handy in a survival situation, and more! I mean, these things are awesome, I eat (some of) them on a daily basis, so stick with me folks, because something good’s coming’ on right after the break!
Braga – the Beverage of Sultans
Let me begin with a tasteful and healthy homemade beverage, called bragă. I can bet you’ve never heard of that stuff before, and I’d be like 99% right. However, braga used to be very popular back in the day, especially in Bulgaria, Romania, Ukraine, Serbia, Macedonia, Herzegovina and Bosnia, not to mention Turkey and Albania, where it’s still very trendy and it is known as boza or bosa.
Braga is produced by the fermentation of cereal flour, being a malt-based refreshing drink and it can be manufactured from fermented maize, wheat or millet. Being a product of fermentation, it also contains something like 1% alcohol, which is negligible, unless you drink tons of it.
There are mentions of braga and its manufacturing process dating way back to the 8th millennia before Christ, in the ancient Mesopotamian and Anatolian kingdoms. Since then, it became hugely popular in the Ottoman empire, where it was served with cinnamon and roasted chickpeas, and even laced with opium and what not.
The general idea is that braga is a very tasty and healthy beverage, which can be easily made at home using basic ingredients. This beverage has a thick consistency, a sweet flavor and it’s slightly acidic.
Speaking about health issues, according to research performed by a Turkish Science and Technology institute, a liter of braga will provide you with one thousand calories (that means energy, which comes handy in survival situations), vitamins A, B and E, along with lactic acid (this helps with digestion). Basically, you should drink braga every day, for your health’s sake; it’s all natural and very tasty, and it’s also a pro-biotic drink.
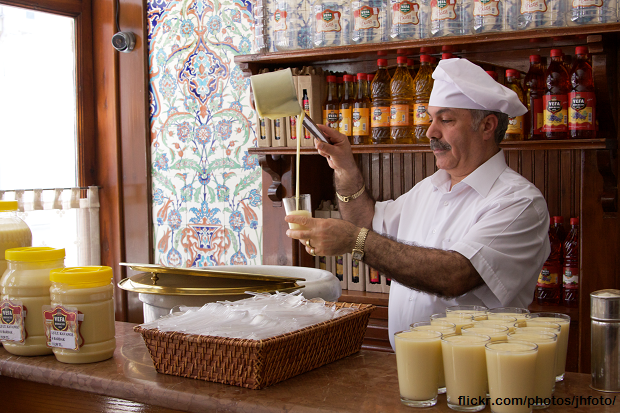
So, how is it made? Braga, the beverage of Sultans, requires the following ingredients (this is the easiest way and the cheapest, nota bene):
For the yeast:
- 1-2 tablespoons slightly roasted flour
- 1 cup tepid water
- 1 spoonful sugar
For the braga:
- 5 l water
- 2 cups flour
- 2 cups sugar
- 1 cup home-made ferment (yeast)
The yeast must be prepared one or two days in advance. The process is very simple, all you have to do is to mix the ingredients and leave them to ferment in a bowl for a couple of days at room temperature.
For the braga itself, you’ll have to bake the flour in a dry pan until it changes its color to rosy, then you’ll have to let it cool in a big pot. Then, poor the 5 liters of water over the brown stuff and mix it really well, without making lumps. Then you must add the sugar and boil the mix for 8 minutes, mixing it properly all the time. Let it cool, then add the pre-made yeast, and let the stuff ferment for 2-3 days, then store it in the fridge.
Voila, you’ve made yourself 5 liters of braga! You can flavor it with anything you like (cinnamon for example), and you may add sugar or whatever to suit your taste.
Borş – the Unknown Hang-Over Remedy
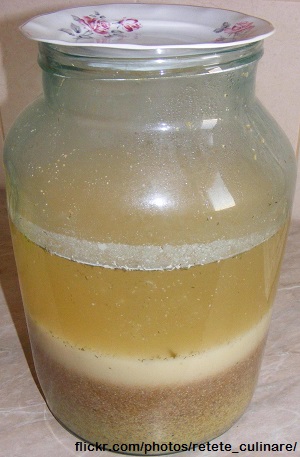
The next ancient European recipe for your survival kitchen is called borş and it’s very similar to braga in terms of preparation and benefits. Borş can be described as a sour-fermented juice traditionally used in Romania in soups, and it’s made by fermenting wheat bran. When we add it to soups, the result is what we know as borsch.
Also, hard-core Romanians sometimes drink it raw, as a hang-over remedy. Borş is full of probiotics, just like braga, and also contains the B vitamin complex, which makes it very healthy.
The main ingredient in borş is wheat bran or corn meal. To make borş, you’ll first need to make the starter, for which you’ll require a sterilized jar, water at room temperature and organic wheat bran, so it doesn’t contain preservatives.
Place the wheat bran in the jar, about 1/20 of the jar’s volume, and then fill the jar with water (pure, sterilized, de-chlorinated), at a temperature between 106 and 118 F, and let it ferment for a couple of days in a cool room, at approximately 60 F.
After 2-3 days, you should check the magic juice, and if it doesn’t smell at all, then all the bacteria is dead and you have to make another batch. If it stinks too much, it means it’s contaminated with bad/wild bacteria, and again, you must prepare another batch.
What you’re looking for is a faint, somewhat unpleasant scent, similar to how lacto-fermented pickles smell like, or B vitamins. The liquid itself is sour and if you leave it there for a couple more days, it will become even sourer (that’s actually the borş).
What’s now at the bottom of the jar is your starter. To preserve the stuff, you can mix it with wheat flour and corn meal, in equal quantities and make patties, then let them dry in a cool room (for later use). The patties are best stored in the fridge or in the freezer for long-term.
Now, with the starter taken care of, borş can be made as it follows: you’ll need 1 lb. of wheat bran, 1/2 lb of corn meal and a cup of the aforementioned starter. The ingredients will be mixed with pure/de-chlorinated water in a 1.5 gallon mason jar and the jar must be kept in a dry, cool room at 60 degrees F. The stuff will ferment in a couple of days and if you allow it an extra day, it will become even sourer. Don’t let it to ferment for more than three days, or it will spoil.
Once you’ve acquired the desired taste for your borş, strain it and pour it in bottles in the fridge for later use. You may add lovage in your borş for health reasons, making it even more beneficial.
Pastrami
Next on the list is pastrami, yet another ancient European recipe for your survival kitchen, delicious and nutritious, yet fairly easy to DIY. Just like corned beef, pastrami was invented as a survival food, for long-term storage in the absence of modern-day refrigeration methods.
What is pastrami? Well, a good old meat product, made from beef, mutton, pork or even turkey. The raw meat is the main ingredient, partially dried and seasoned with spices and herbs, marinated, and afterwards smoked and steamed.
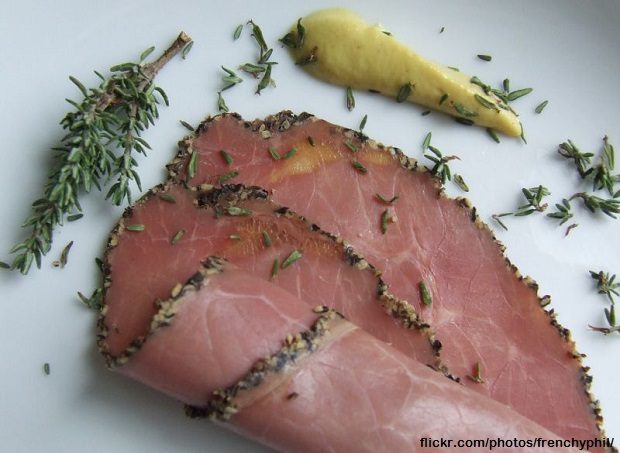
How to make pastrami: brine is made by boiling one gallon of water into a big pot, then adding juniper berries (5), garlic (6 cloves, smashed/peeled) , salt (3/4 cup), bay leaves (3 broken into pieces), brown sugar (1/2 cup), curing salt (3/4 cup), mustard seeds (1 tbsp.), and peppercorns (1 tbsp) if you like it spicy. Let it cool down and then put the meat inside (beef brisket for example, flat, trimmed to 1/4 inch), and refrigerate it for three days.
For the rub, combine coriander seeds (3 tbsp.), cinnamon (1 tsp), bay leaves (2) and black pepper (3 tbsp) in a spice grinder, then pulse until coarsely ground. After that add some sweet paprika (2 tbsp.), ground clove (1/2 tbsp.), and brown sugar.
The meat must be removed from the brine and rinsed in cold running water, then you must pat it dry using paper towels; now it’s time to put the aforementioned rub on the brisket, cover it with plastic wrap and let it sit into the refrigerator for one day.
The next step is to smoke the beef brisket for 3 to 4 hours on a charcoal/gas grill over low heat (200 F to 275 F) or use a dedicated smoker. The pastrami should be smoked/cooked until the internal temperature of the meat reaches 175 degrees F, then allow it to cool off at room temperature.
Mujdei, the Health Booster
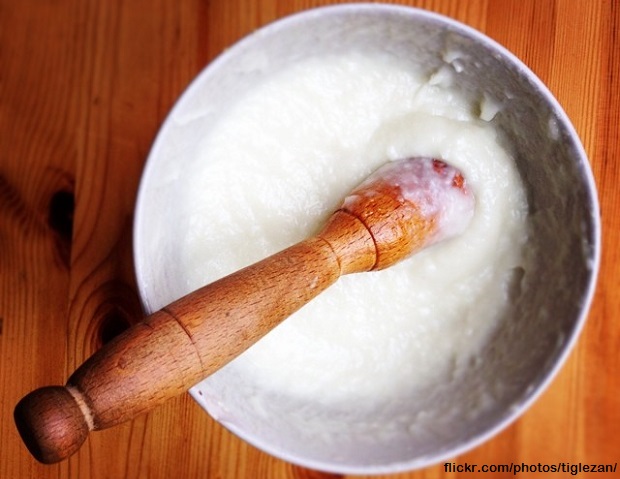
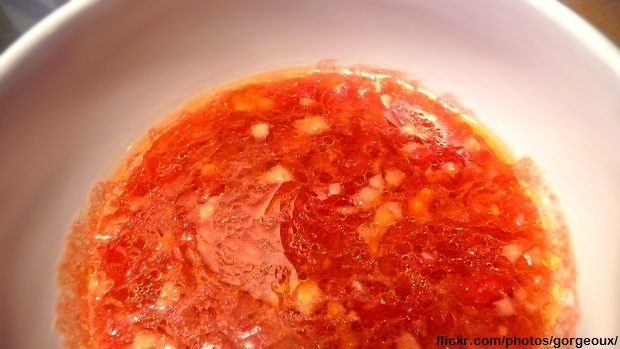
Pastrami is excellent when served with mujdei, the next European recipe for your survival kitchen. Mujdei is basically a garlic sauce and it’s used to flavor meat and fish dishes. Garlic is an excellent health-booster, a natural antibiotic, and is filled with vitamins and minerals.
How to make mujdei? Well, it’s fairly easy: you’ll need 3.5 ounces of garlic, salt and 5 ounces of sparkling water. You must grind the garlic and mix it with a punch of salt, add the water and stir it until it becomes a fine sauce.
You can add a little bit of pepper into the mix or use olive oil instead of sparkling water. Another recipe uses garlic, punch of salt, pepper and 150 ml of tomato juice instead of water/olive oil. Also, you may use cream or yogurt instead of tomato juice. It all depends on what you like more; go experiment a little bit.
Let’s End the Meal with a Shot
After a tasty meal, nothing is better than a shot of palinka (also known as palinca). Palinka is a traditional Eastern European alcoholic beverage: it’s a fruit brandy invented way back in the Middle Ages, and is usually made from plums, apples, cherries, pears or apricots. For making palinka, you must double-distillate the fermented plum/apple/whatever juice, which results in a vigorous alcohol content of 40 to 70 percent ABV. Keep in mind that in certain US states, moon-shine (which this qualifies as) is strictly prohibited.
However, the basics for DIY-ing palinka are as it follows: first, you must prepare the fruit mash by removing the stony seed (if any) and sometimes you’ll need to grind the fruits to make the mash softer. The next step is fermentation of the mash, in an anaerobic environment using stainless steel or wooden containers. With the ideal temperature being 57-61 F, the fermentation process takes anywhere between ten days and two weeks.
The 3rd step is the distillation process, using a pot still or a column still.
Traditionally, palinka is made using a pot still no bigger than 1,000 liters. Also, Palinka is always double distilled.
The last step is aging the palinka in wooden barrels or stainless steel tanks, depending on the type of palinka (some varieties can’t be aged in wooden barrels, as the wood cancels the fruity taste of the beverage). Here’s a DIY guide for a home-made distillation gizmo.
Video first seen on Fenyutas
Also, you can always buy palinka, if moonshine is not your cup of tea, but you’ll require strong connections in Hungary or Romania, the places which produce the best palinka in the world!
I hope the article helped. If you have other ideas or if you tried any of these recipes and want to share your experience, feel free to express yourself using the dedicated section!
Or click on the banner below to get more about the ancient ways of survival that we should learn and start using!
This article has been written by Chris Black for Survivopedia.


